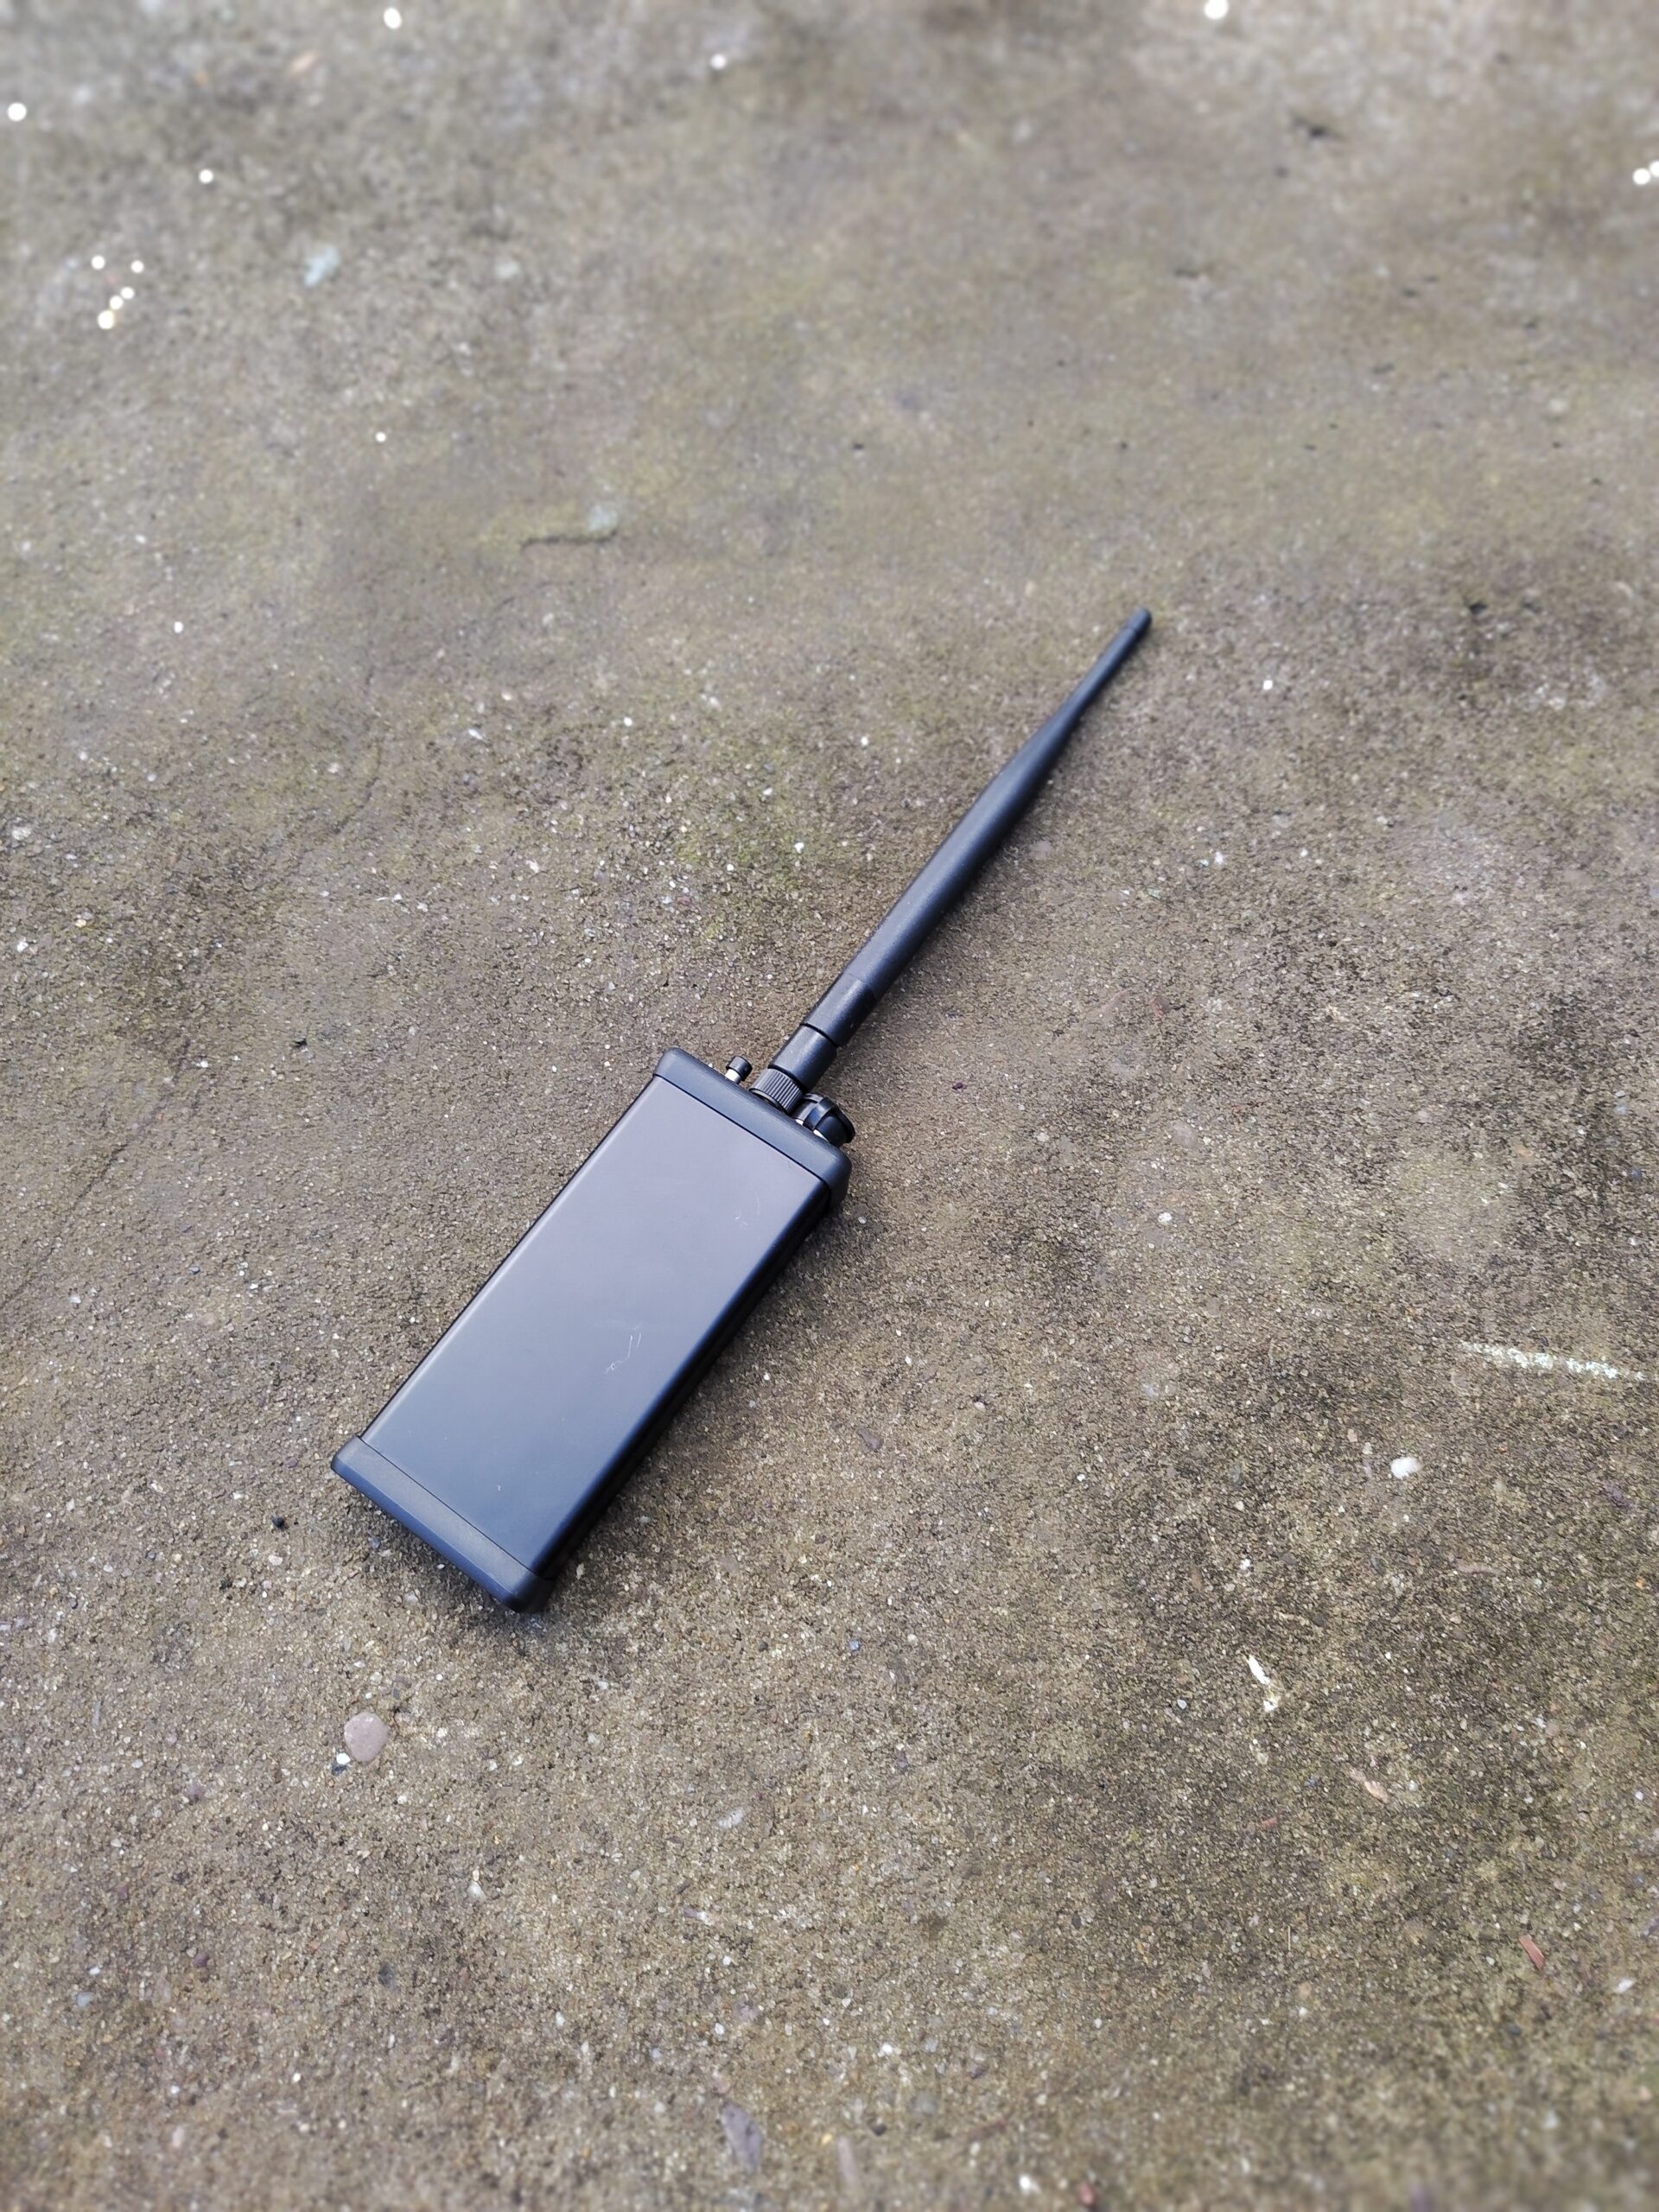
LoRa Mesh Tactical enclosure
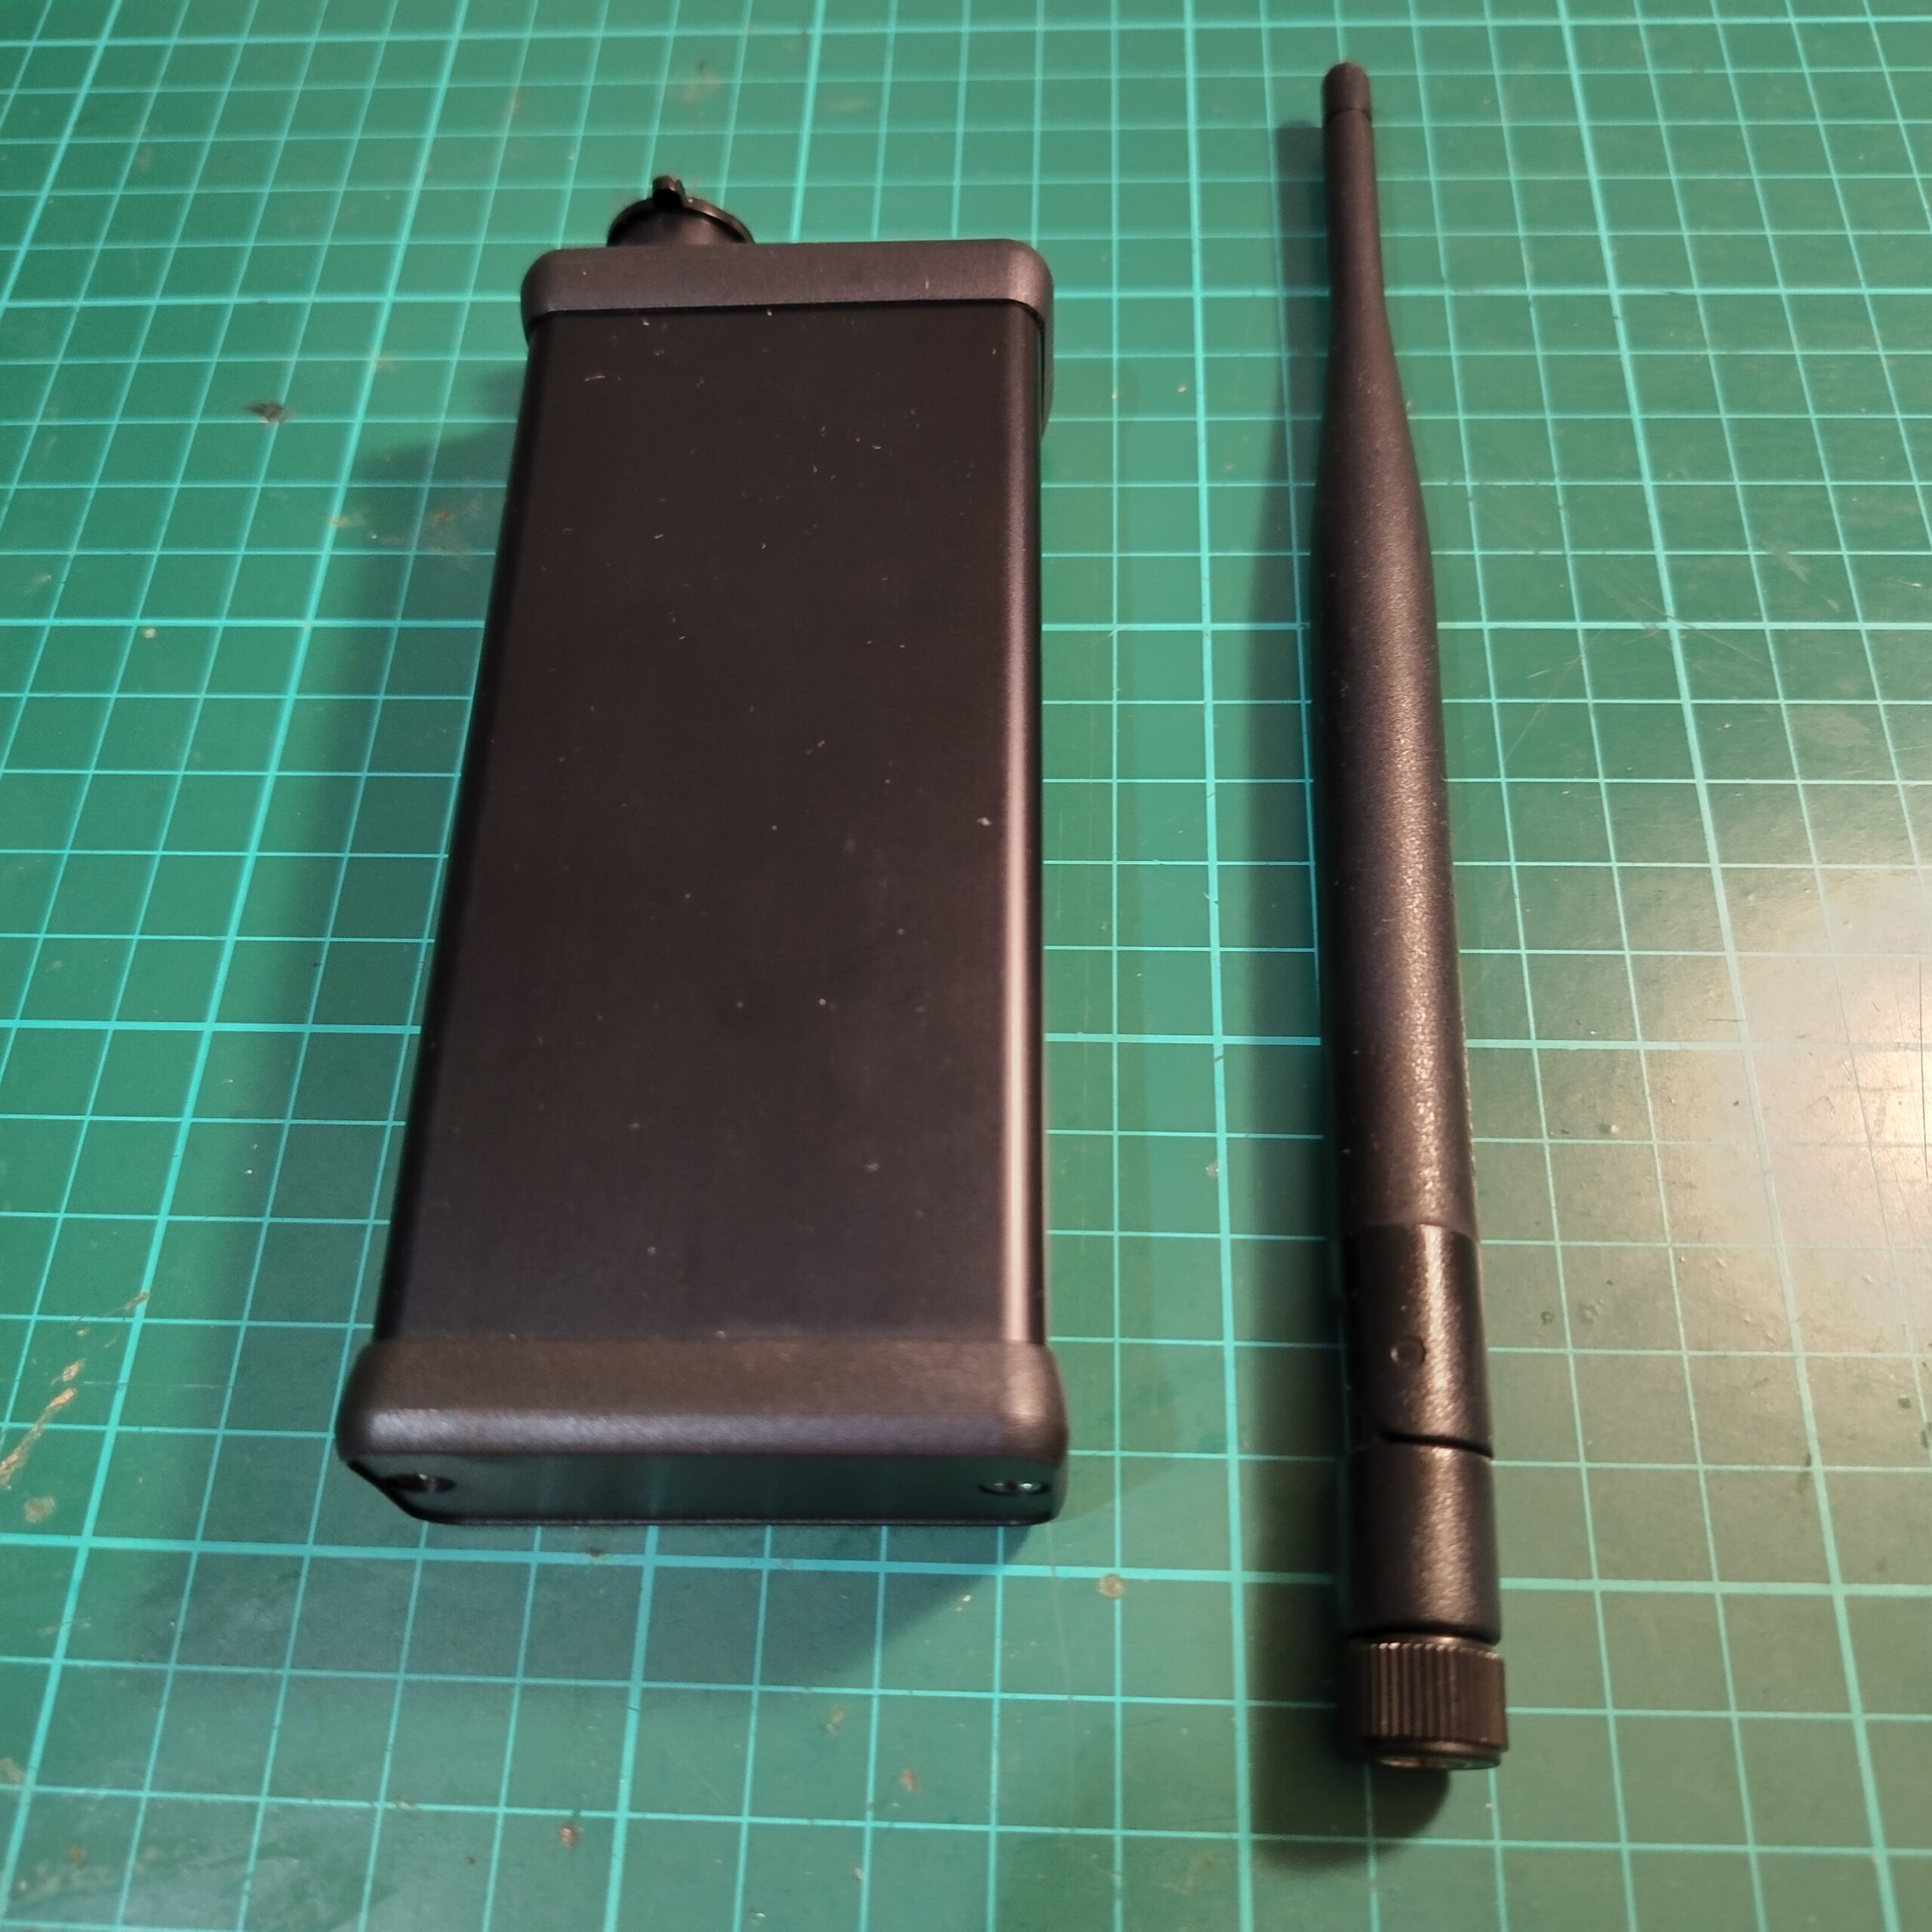
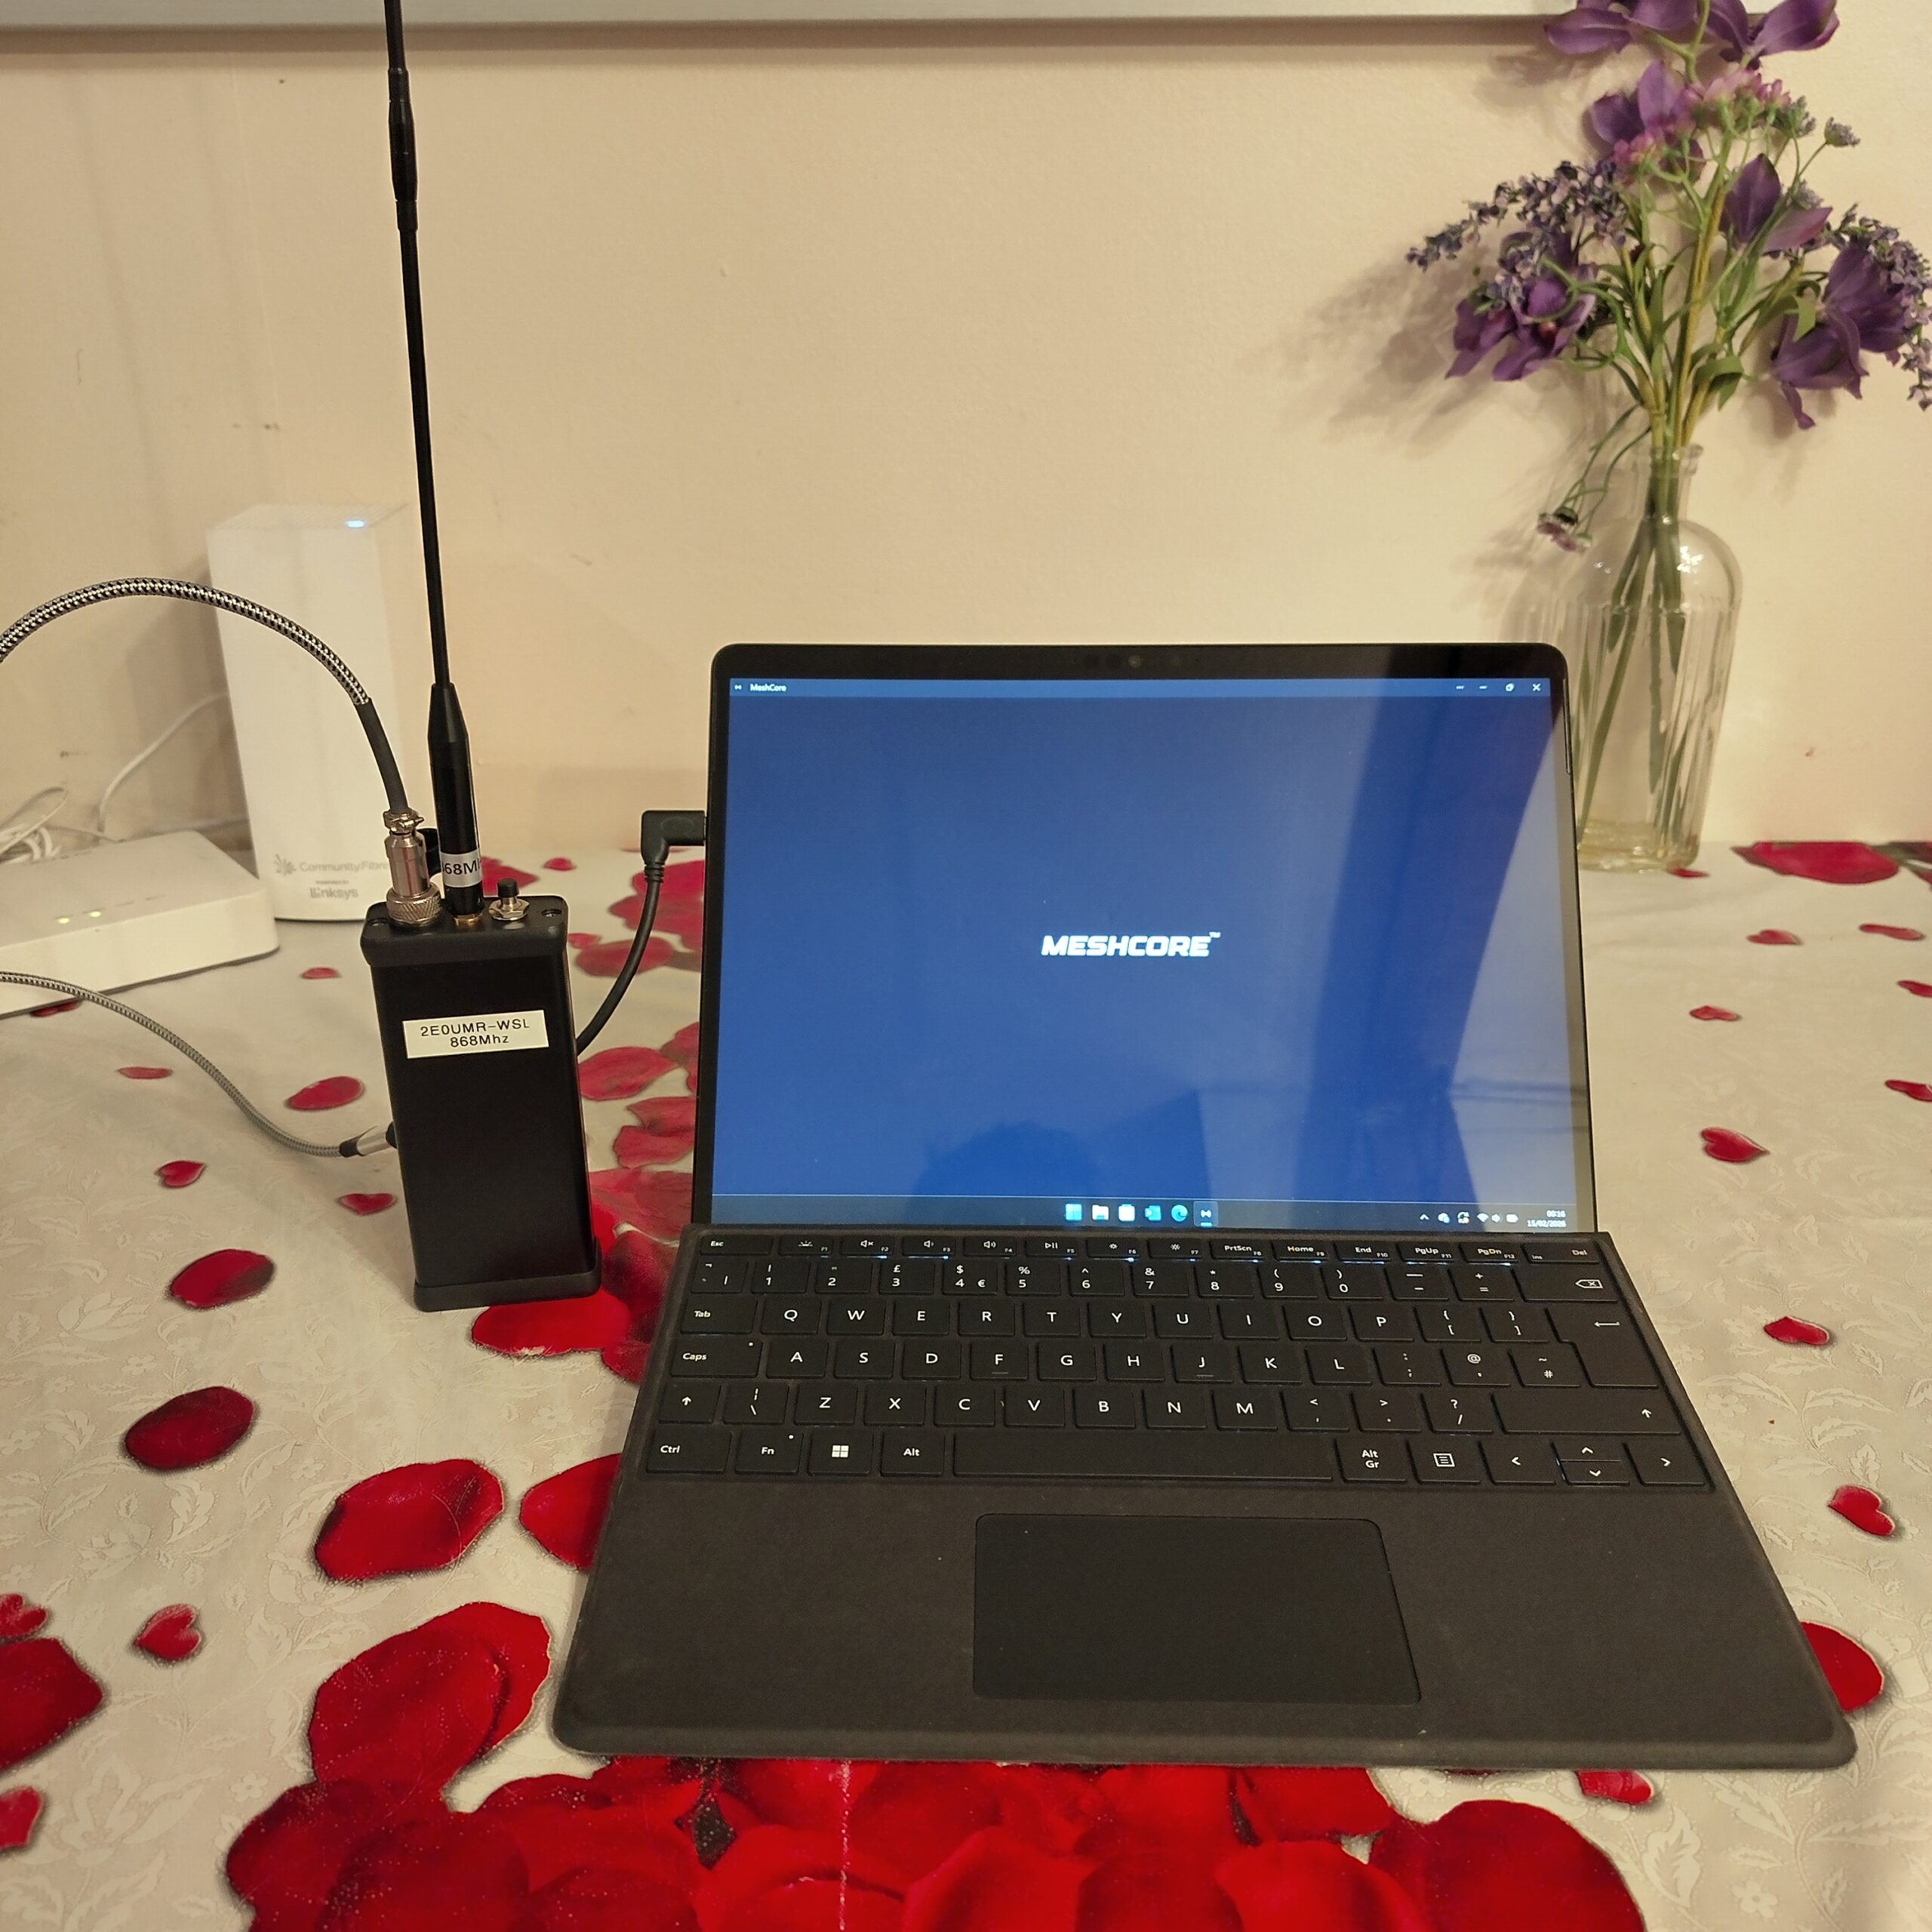
With mesh devices becoming increasingly popular, most DIY boards and homebrew builds are typically housed in 3D-printed enclosures. While these can look great and offer flexibility in design, I’ve been exploring a more robust alternative — a metal enclosure for my Meshcore Node.

While exploring enclosure options, I came across a range of extruded aluminium enclosures manufactured by Hammond Manufacturing.
What immediately caught my attention was the integrated PCB guide rails built into the housing. These internal slots allow a printed circuit board to slide directly into the enclosure without the need for additional mounting hardware or standoffs. This means I can design a custom PCB specifically to match the enclosure’s internal dimensions.
Rather than adapting an enclosure to fit an existing board, this approach allows the mechanical design and PCB layout to be planned together from the start. Connector placement, mounting alignment, and overall fit can all be considered during the design phase, resulting in a much more intentional build.
When it came to selecting the mesh module, I took inspiration from the Ripple Radios BLE Pager design approach.
After comparing a few options, the Heltec Wireless Stick Lite V3 stood out as a strong candidate for this project. It features an IPEX connector for both Wi-Fi and LoRa, making it easy to use external antennas — something that fits well with a metal enclosure build. Importantly, this version does not include an onboard screen, which keeps the design cleaner and better suited to a purpose-built enclosure.
Another useful feature is the ability to update the firmware directly without having to manually place the board into boot mode. That simplifies development and maintenance, especially once the device is fully assembled inside the enclosure.
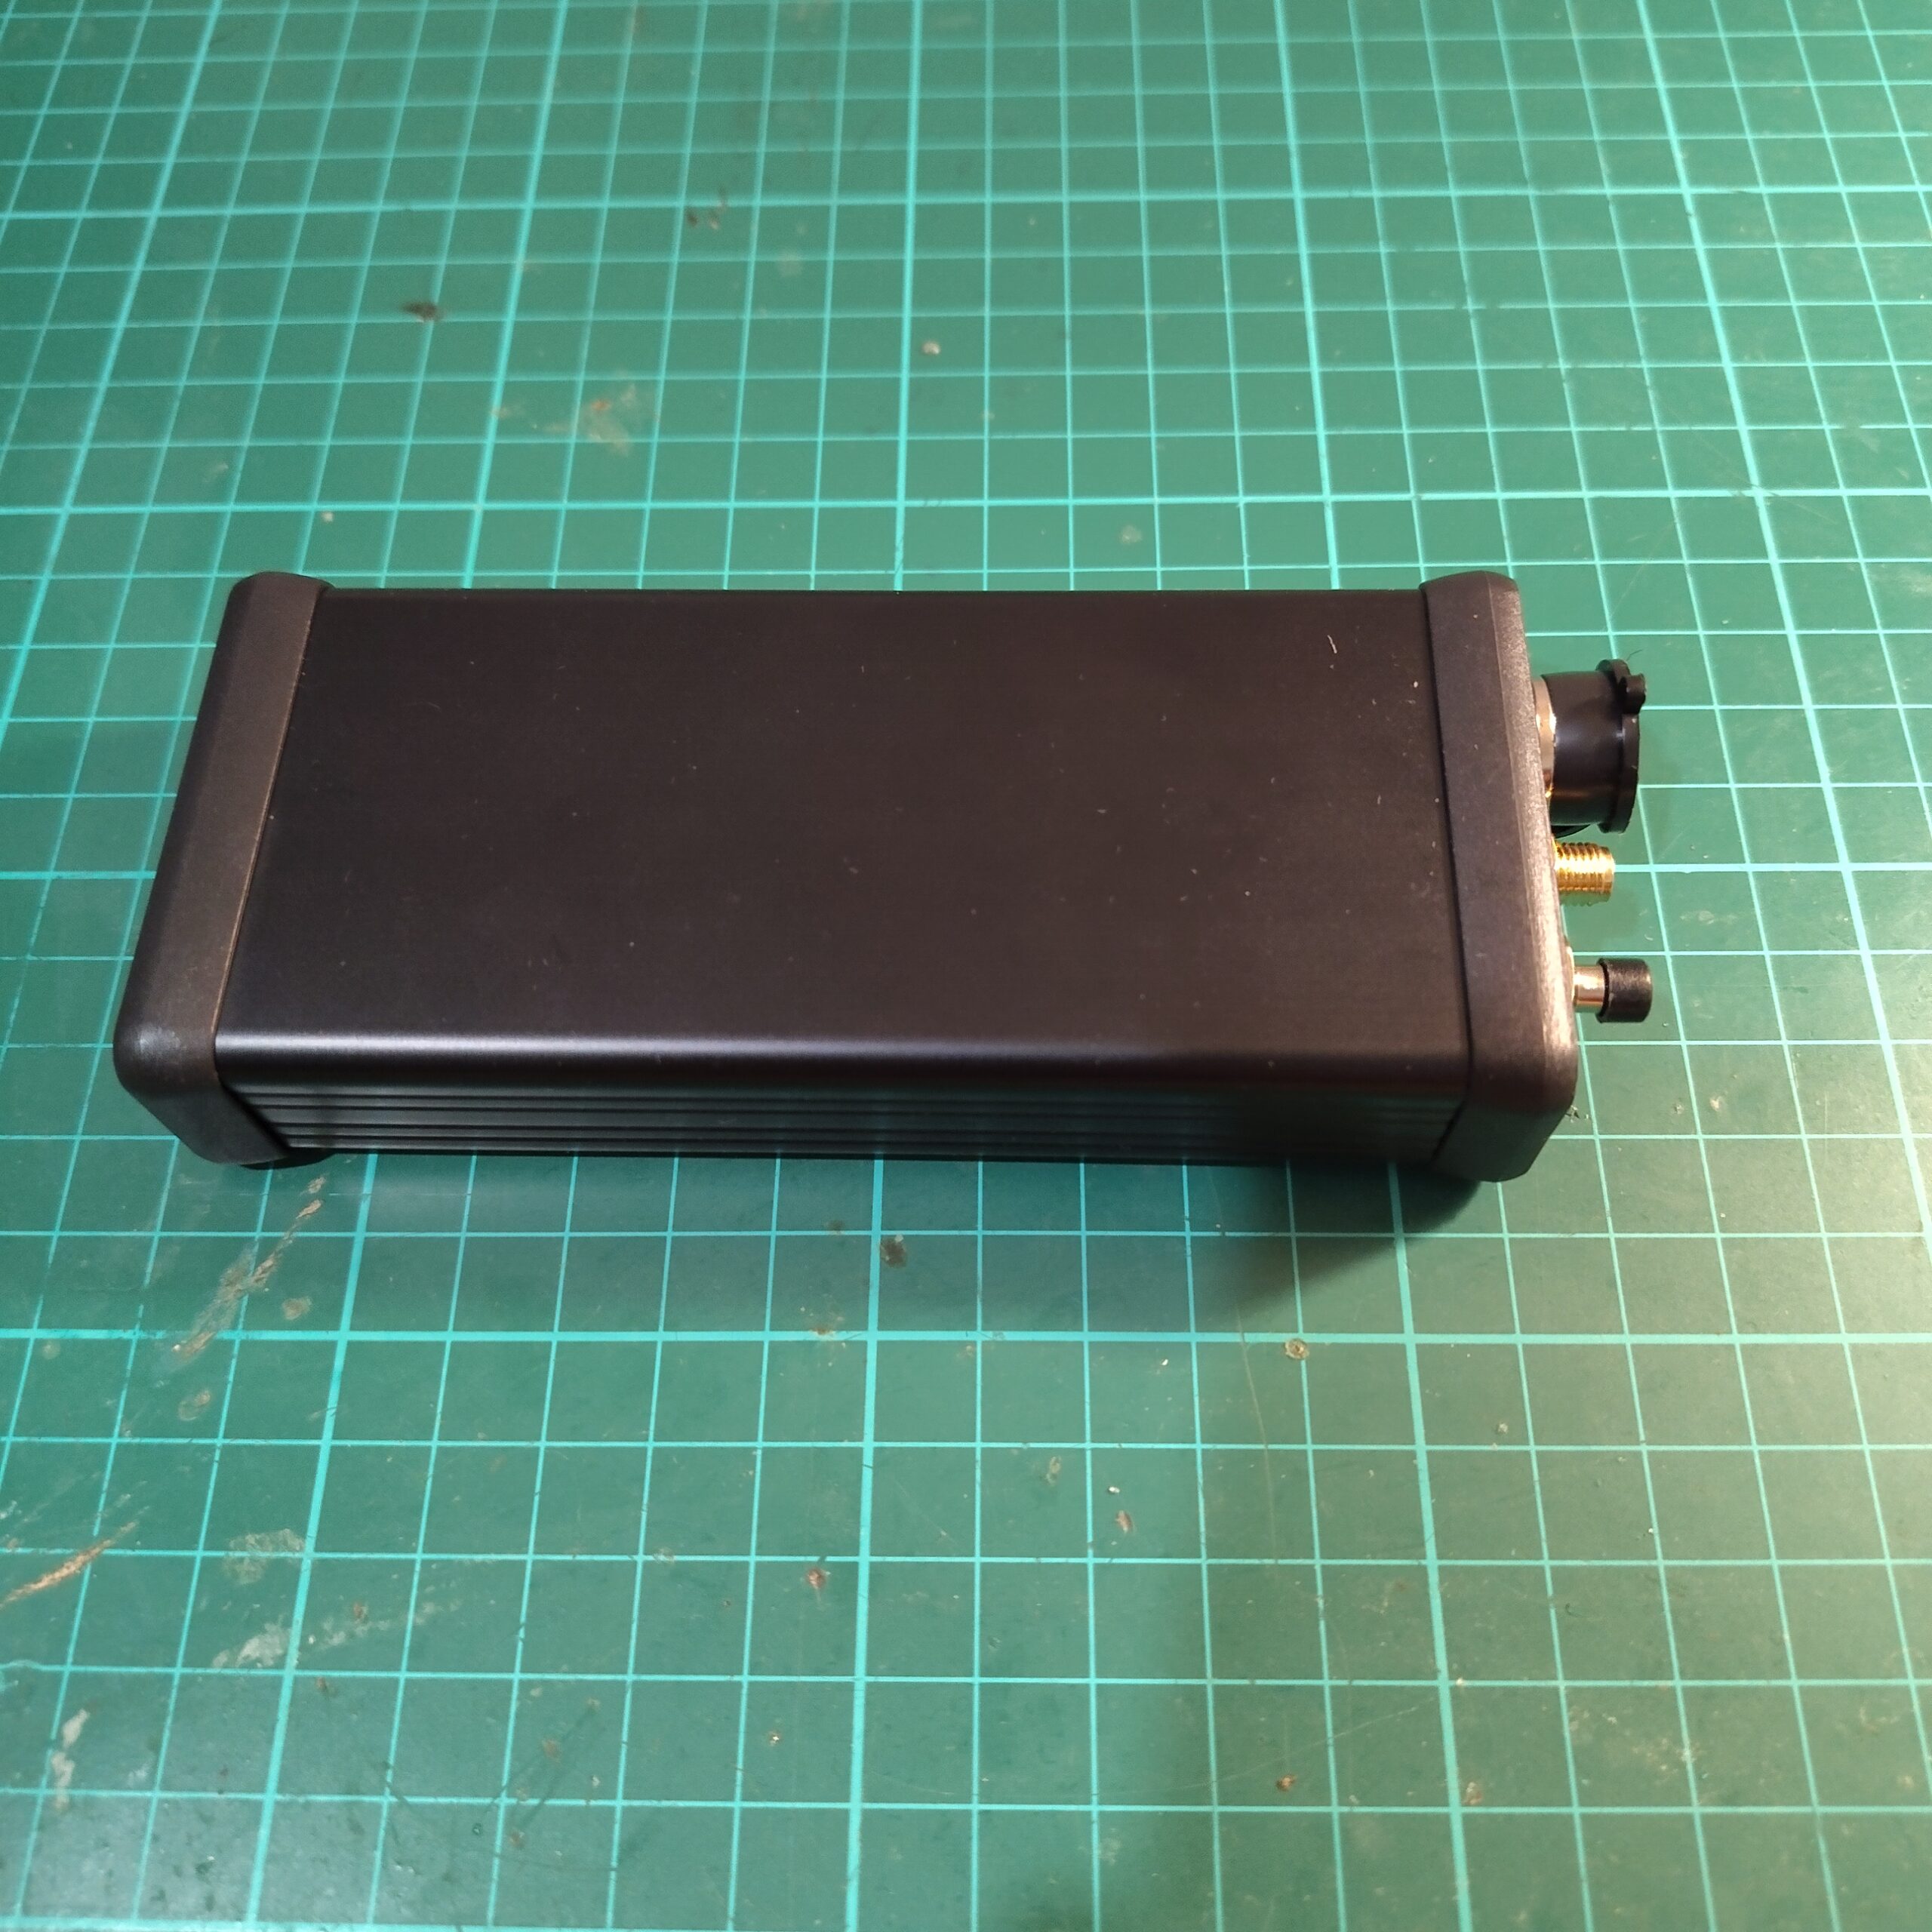
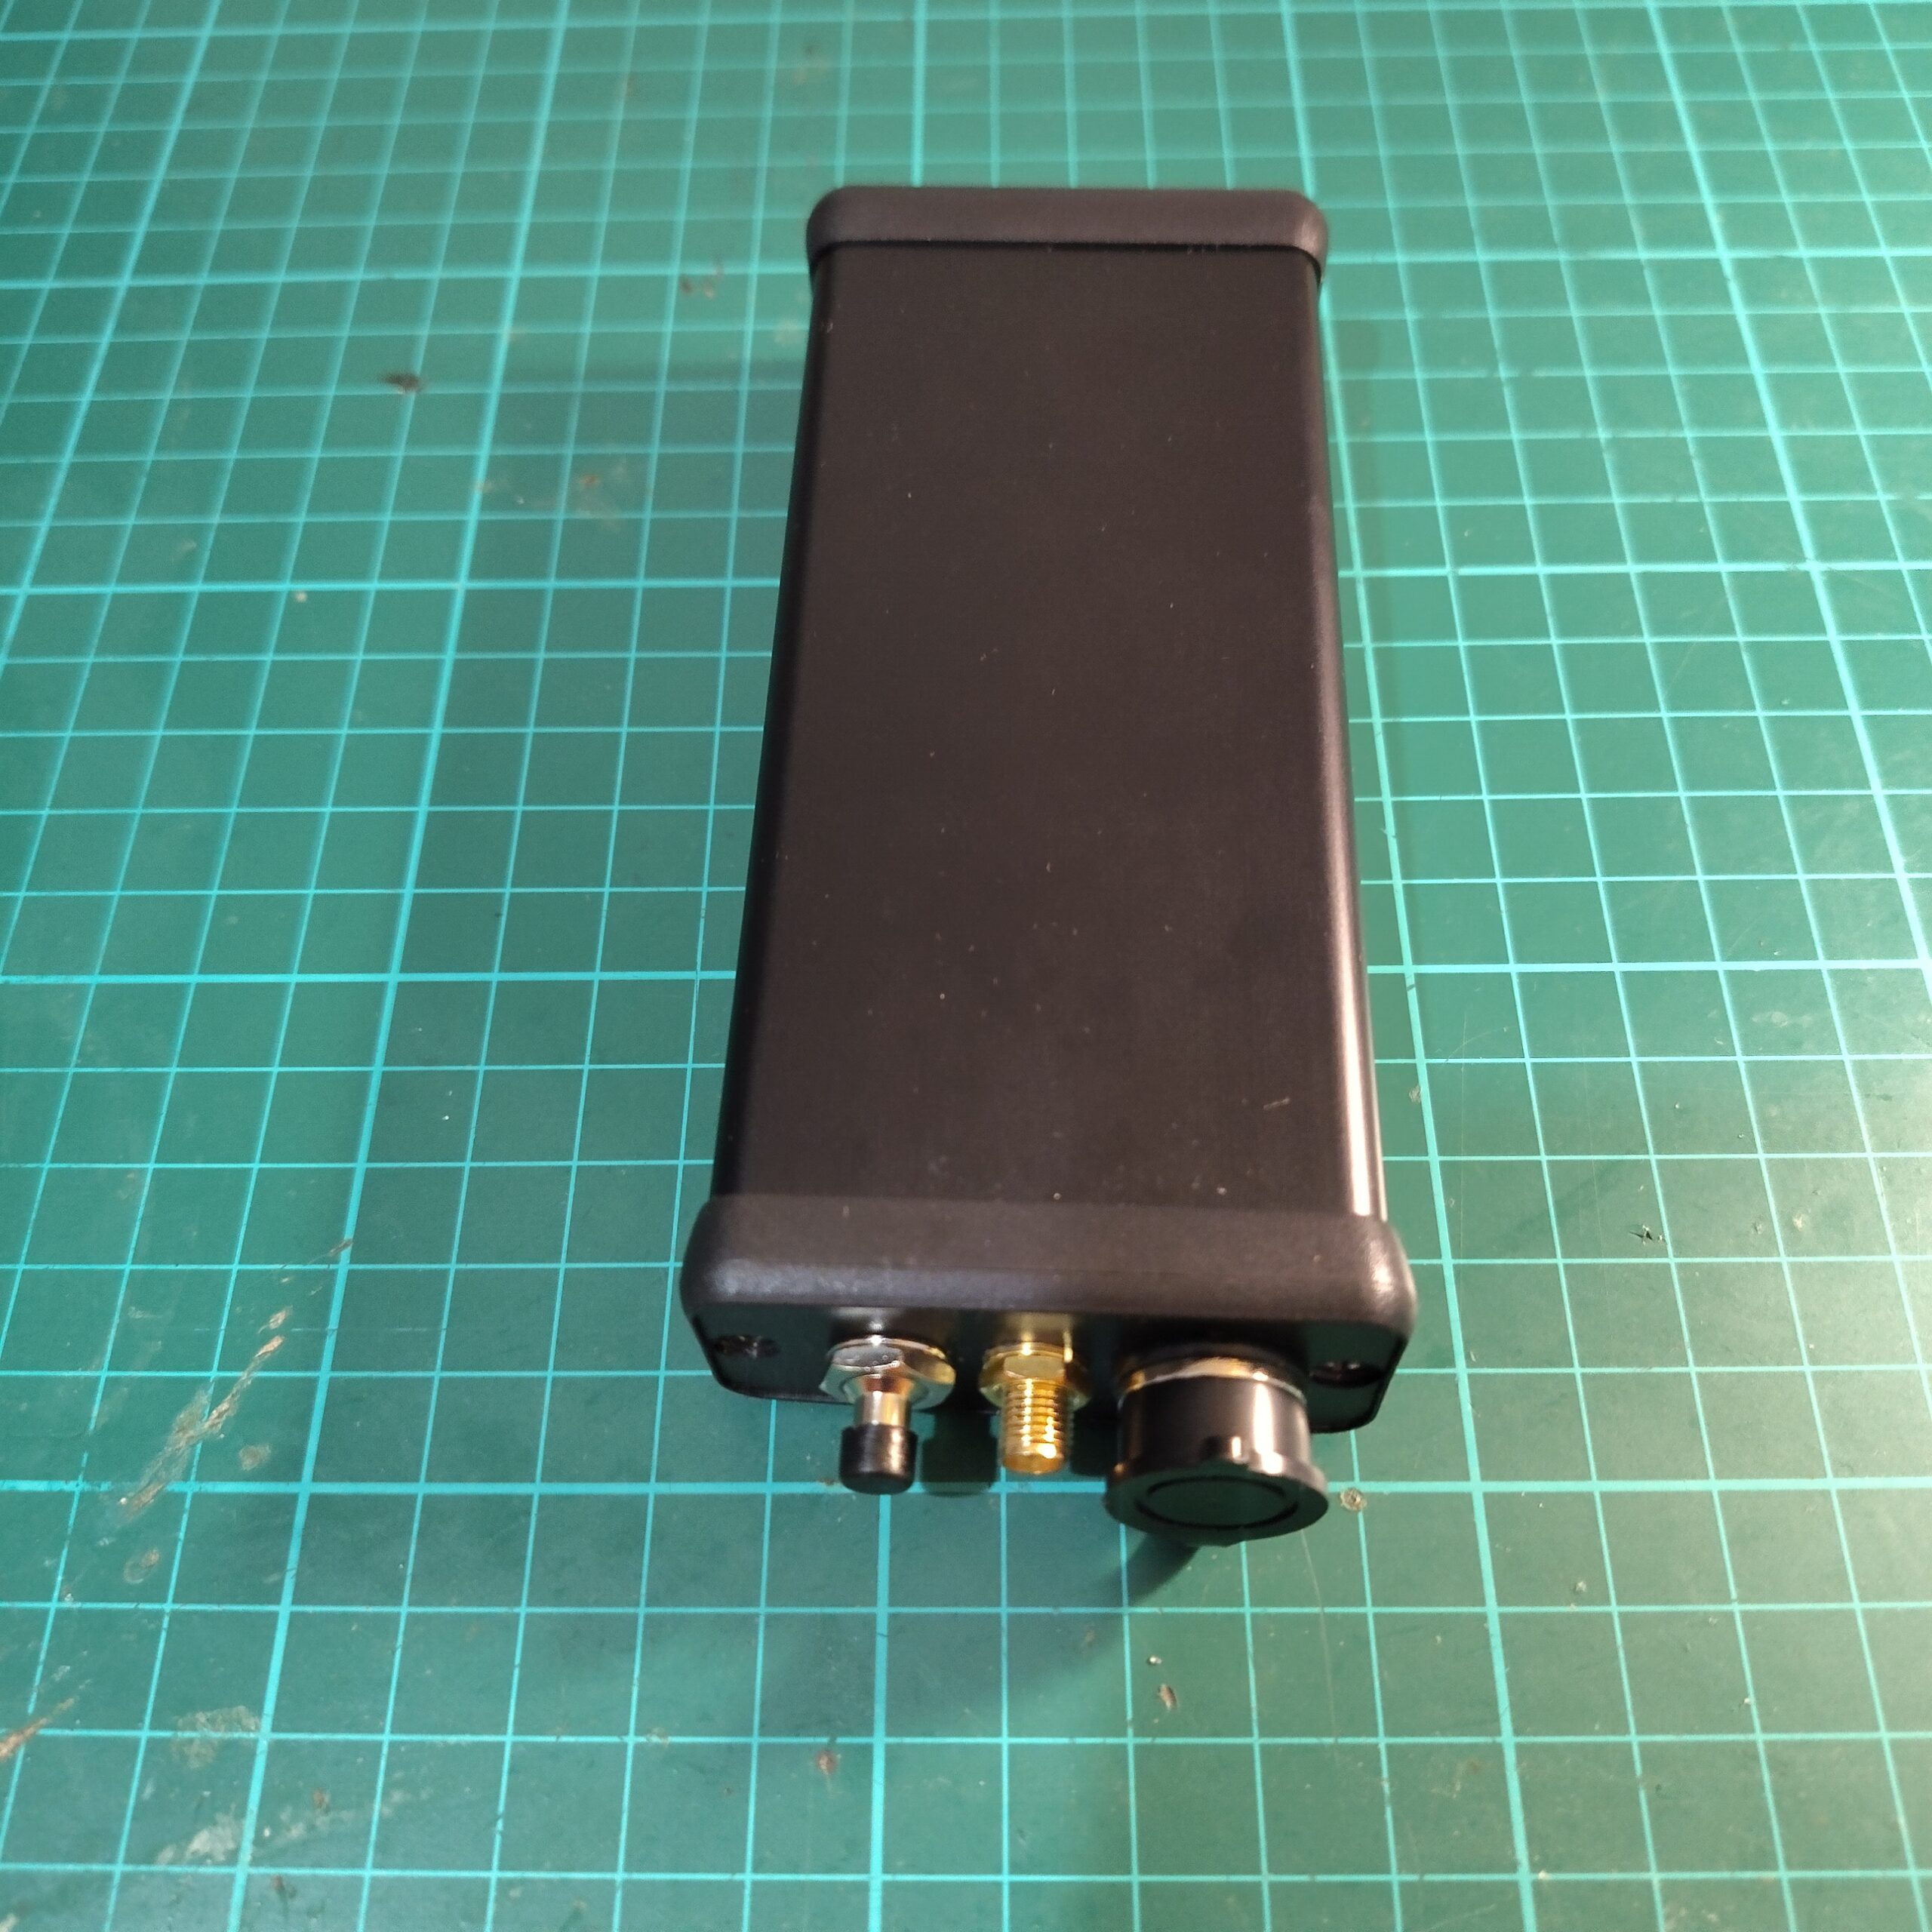
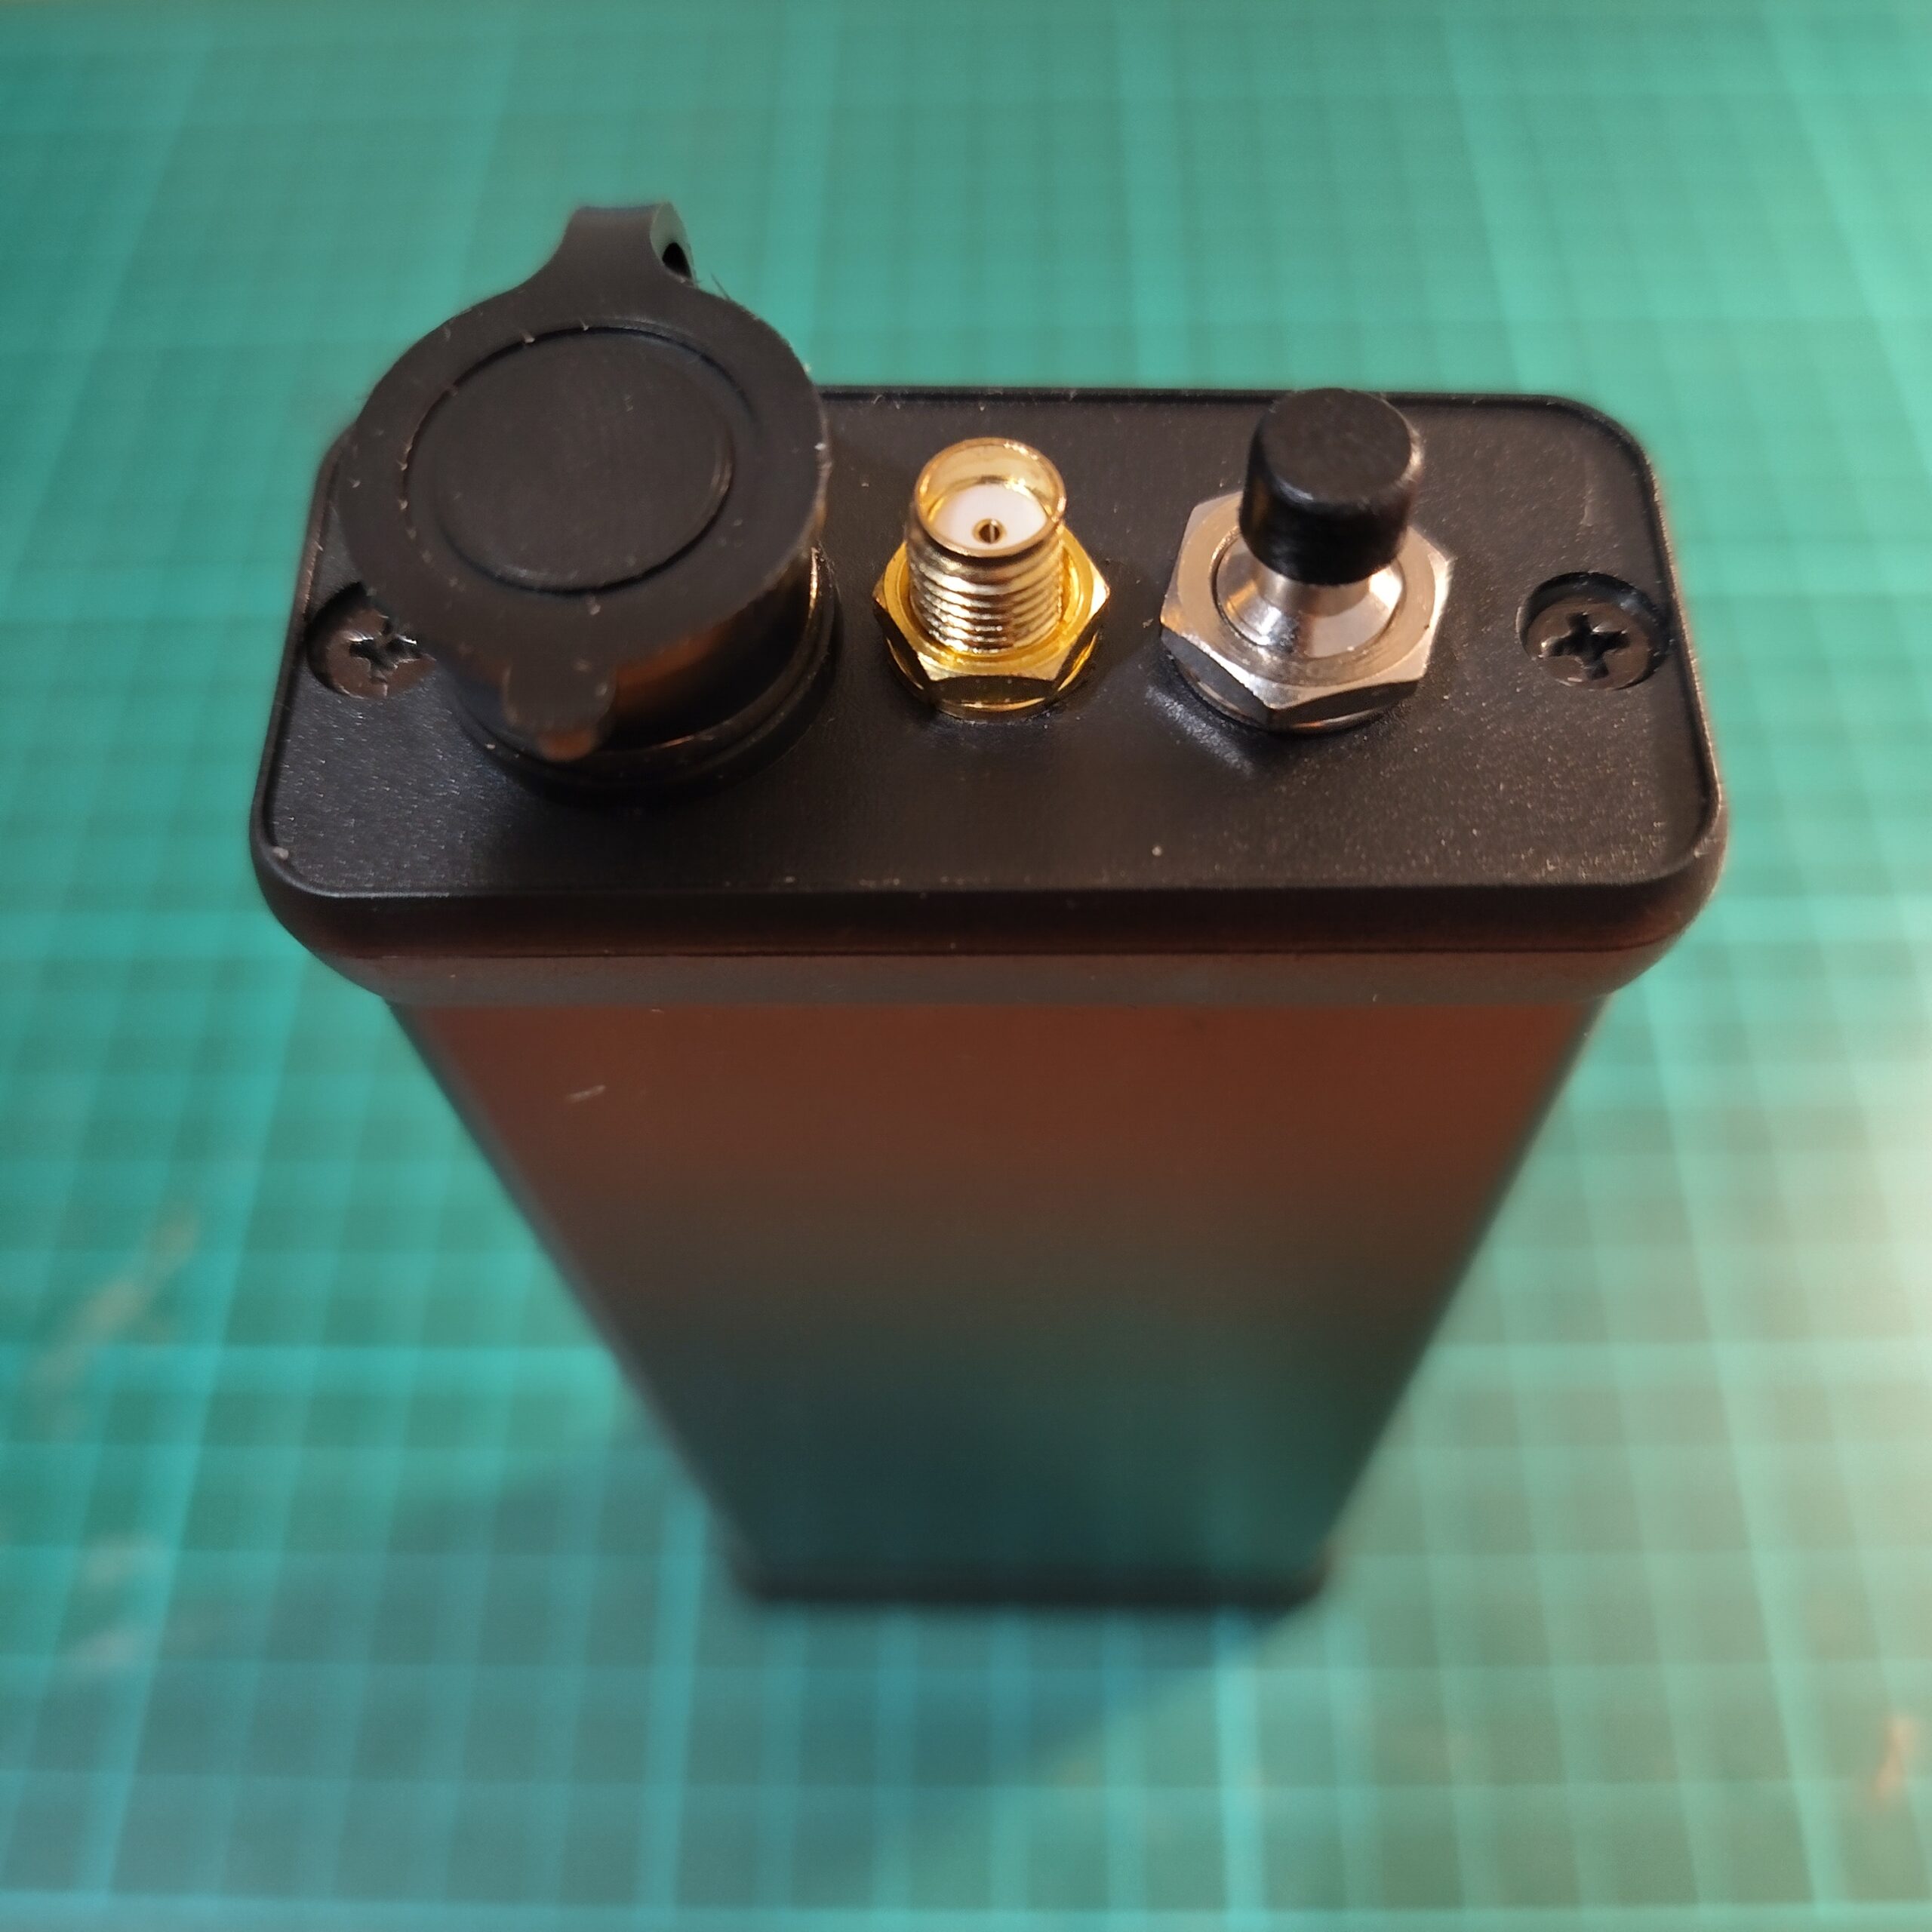
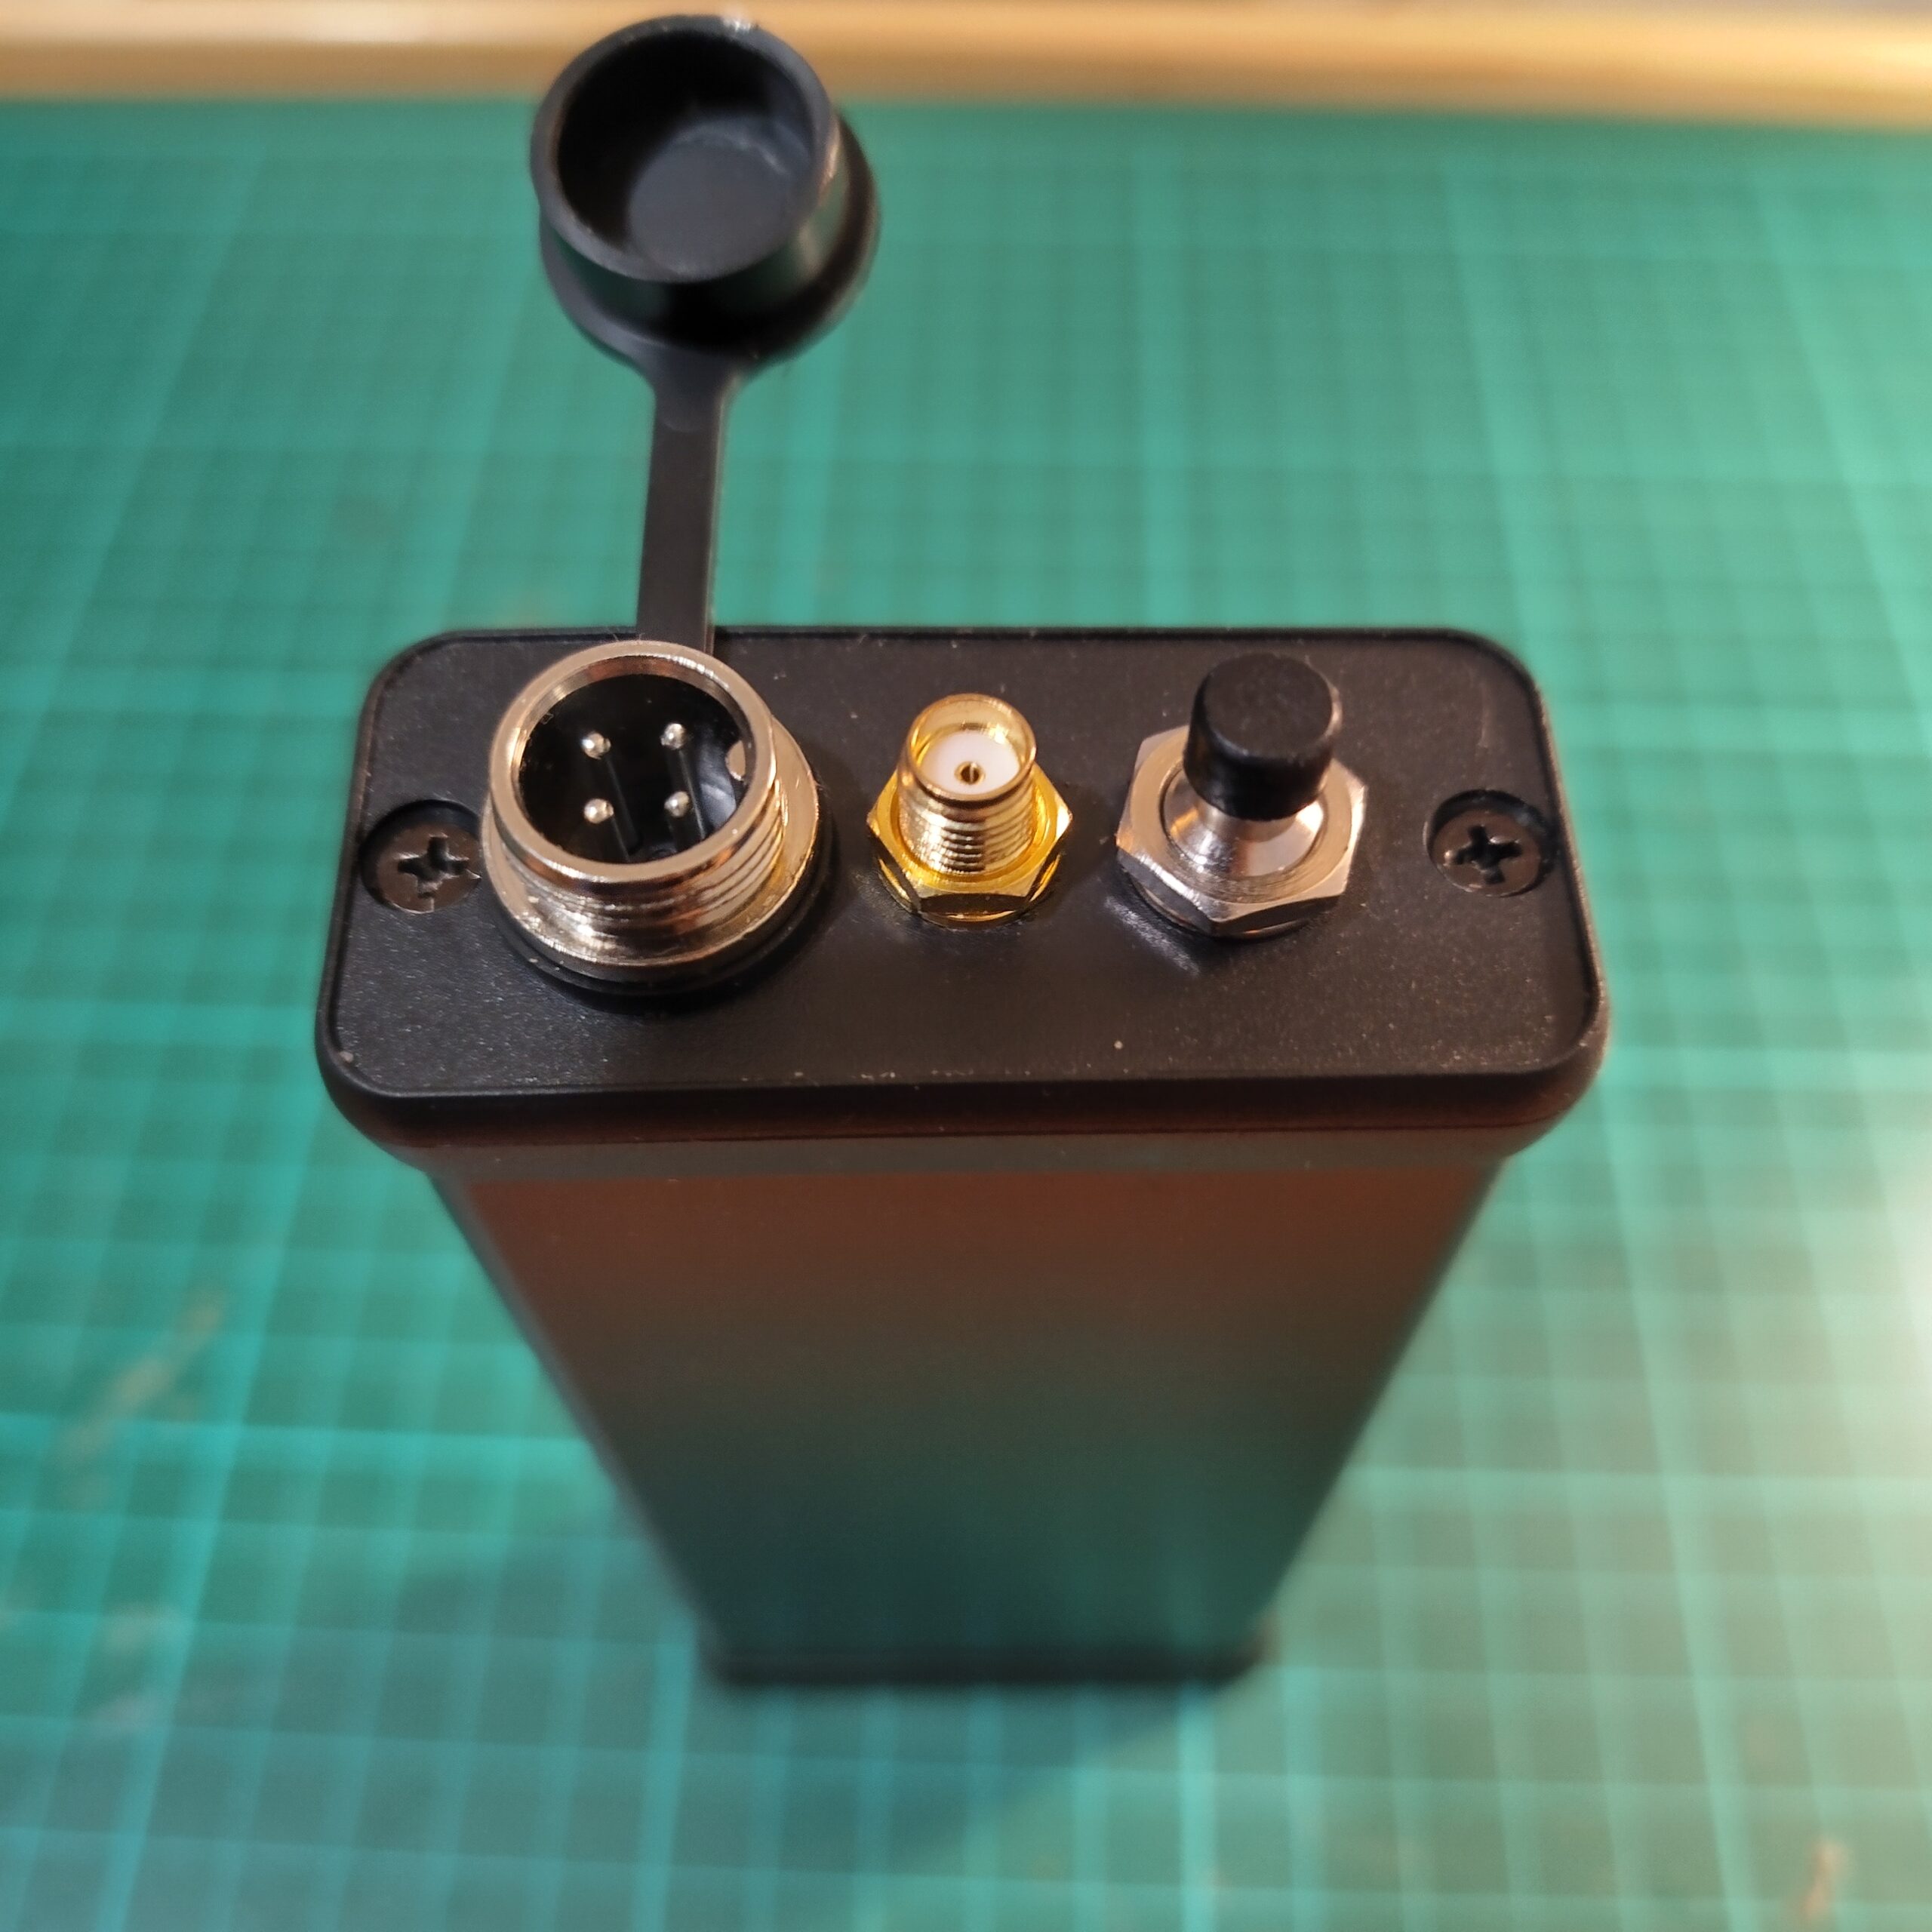
For external connectivity, I decided to use a GX12 4-pin connector for the USB interface.
The GX12 connector gives the build a more rugged, panel-mount solution compared to a standard exposed USB port. It mounts cleanly to the metal enclosure and allows the internal USB lines to be routed directly to the module, keeping everything neatly contained inside the case.
Using a 4-pin version makes it straightforward to carry the essential USB connections while maintaining a secure, screw-locking interface.
Components Required to Build the Node
Below is the list of components used for this mesh node build:
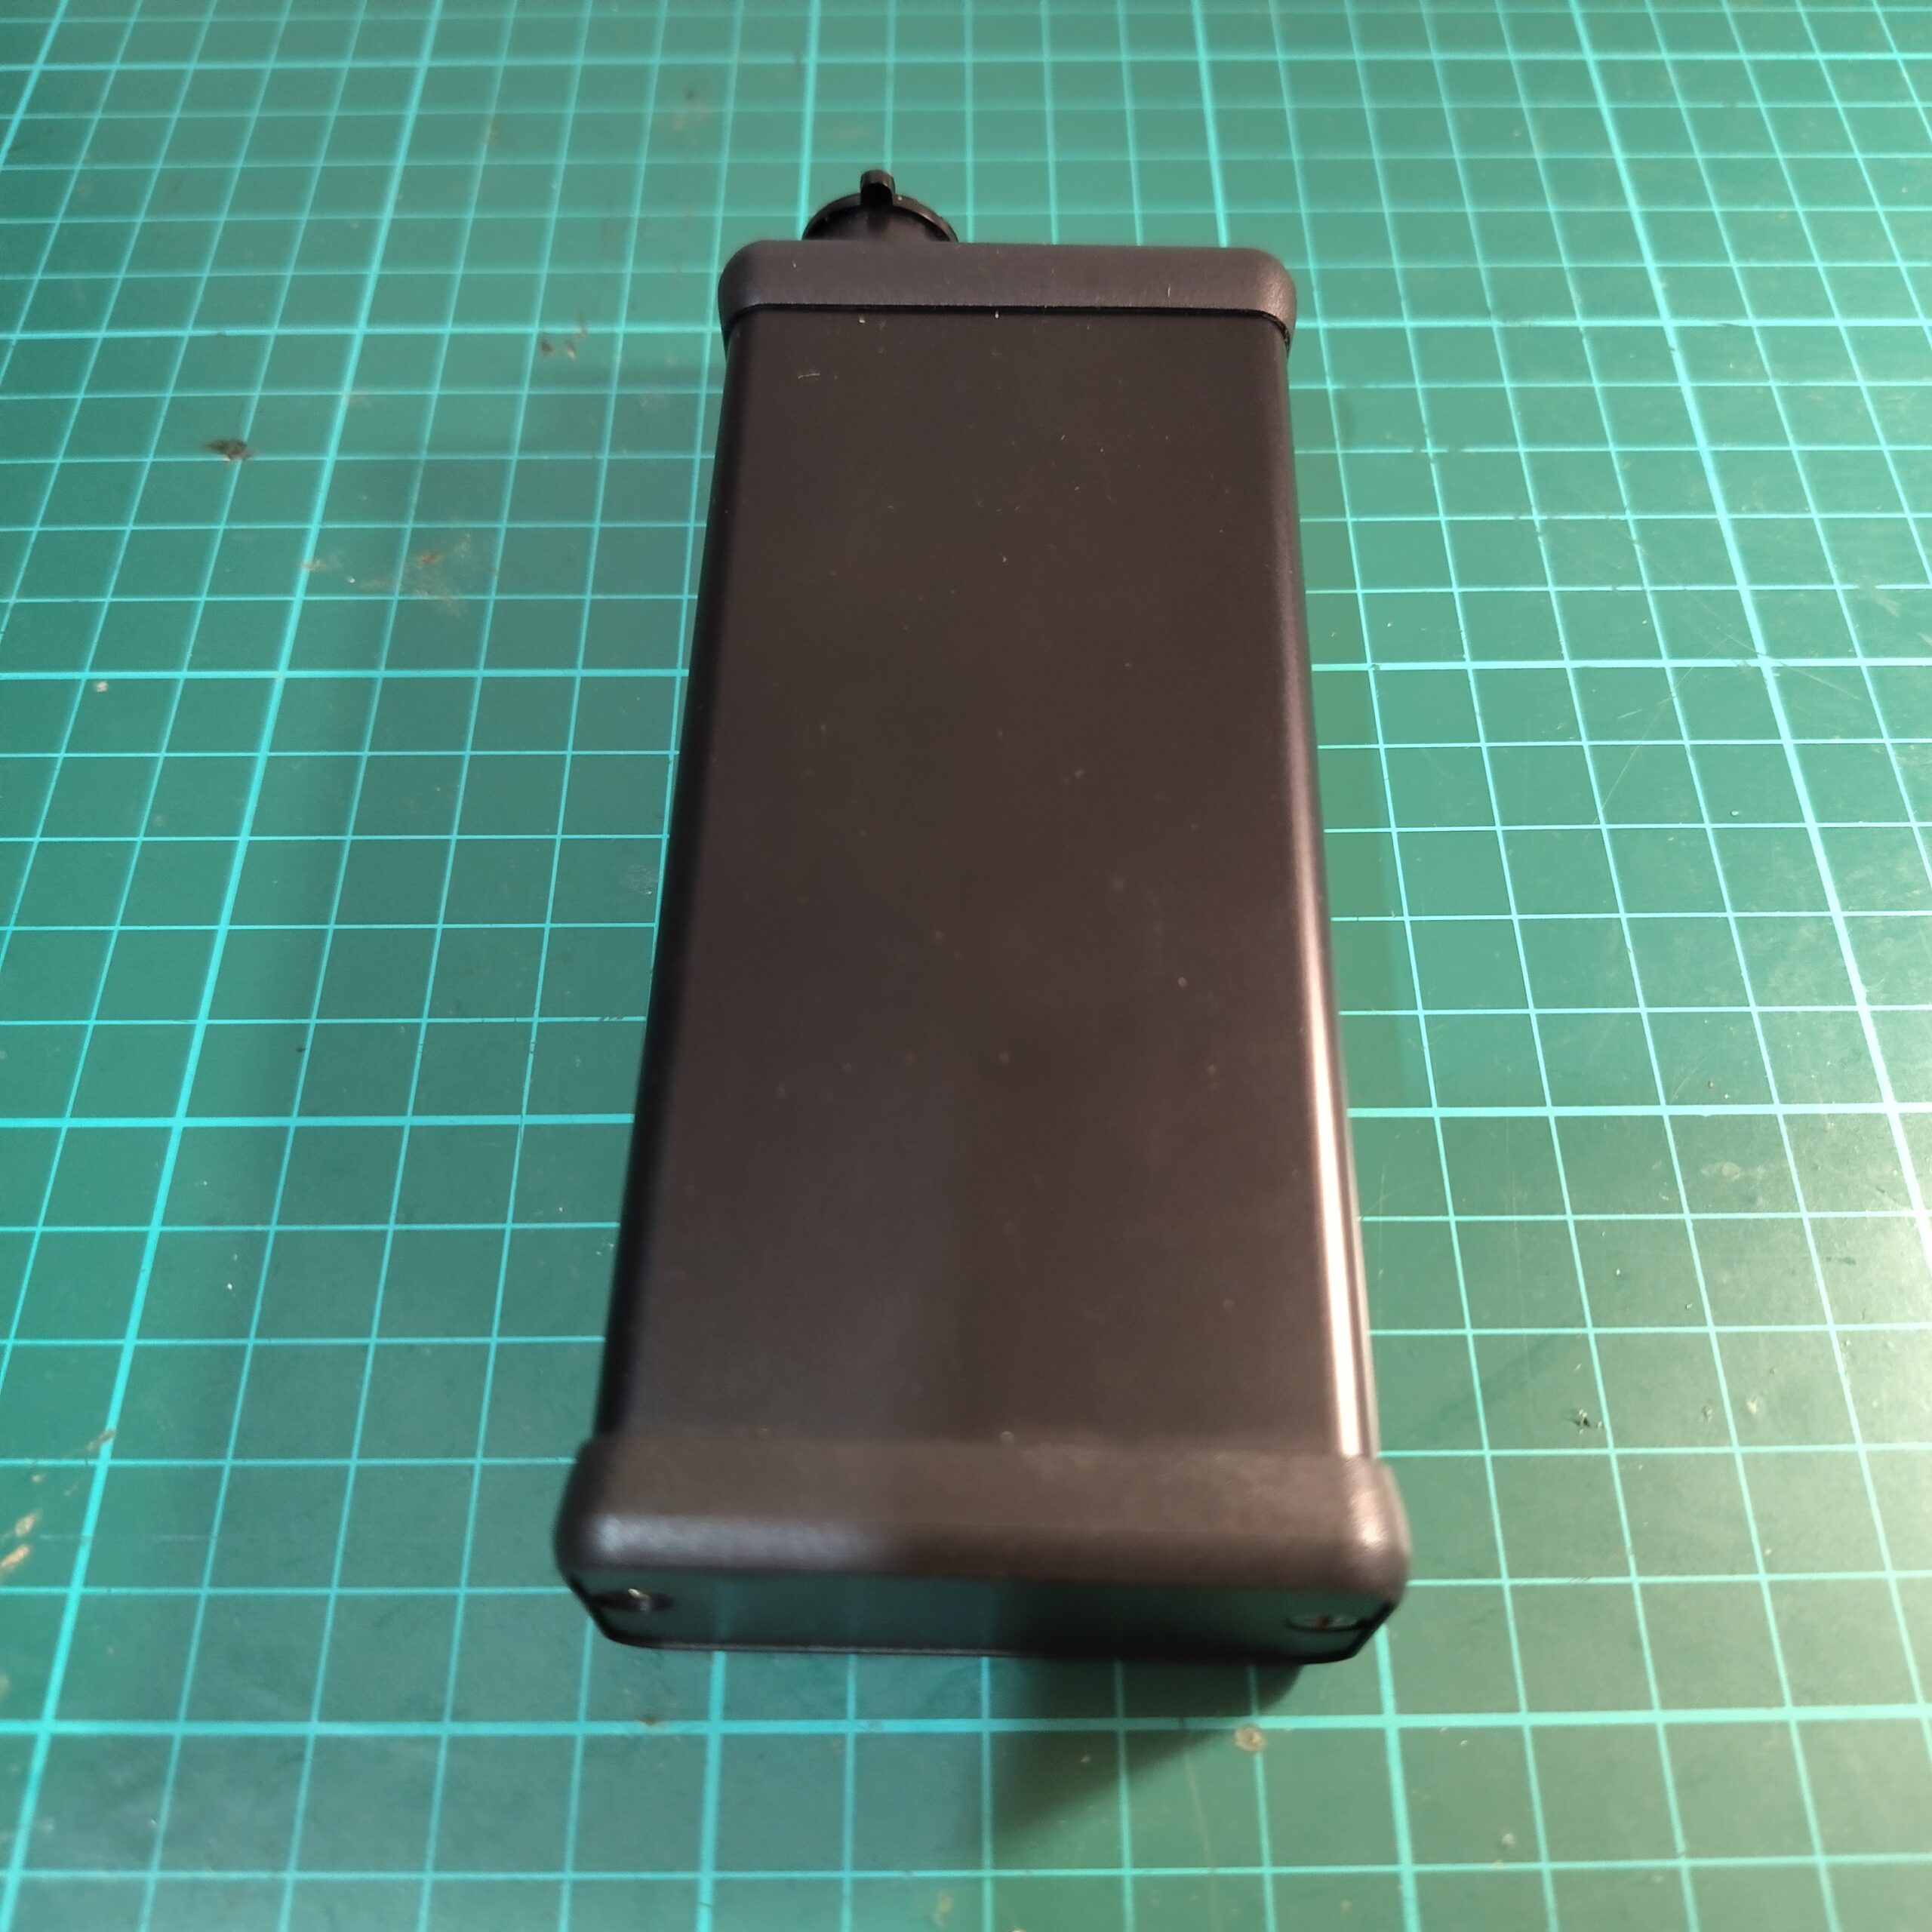
Enclosure
–Hammond 1455C1202BK
(Part of the 1455 Series, black aluminium body with black lid.)
Mesh Module
-Heltec Wireless Stick Lite V3
ESP32-based LoRa development board with IPEX connector.
RF & External Connectivity
-IPEX to SMA Male pigtail (for external antenna connection)
-GX12 4-Pin Aviation Connector (panel-mounted USB interface)
-USB-C 4-Pin Breakout Board
-SH-1.25 connector
Controls & Power
-Latching Push Button (On/Off)
-Li-Po Battery (internal power source)
PCB

Additional Notes from the Build
- Using the node without a battery (USB companion mode):
If you decide to run the node purely from USB power without a Li-Po battery, the push button can be used. Instead of using it as a power switch, connect it to the ADVT pad on the PCB and configure it as an advertise button. This allows you to manually trigger node advertising when needed. - RF performance inside a metal enclosure:
Since the build uses a metal enclosure, keep in mind that Bluetooth and Wi-Fi range will be reduced due to shielding effects. To maintain or extend range, it’s recommended to use an external antenna via the IPEX-to-SMA connection rather than relying on an internal antenna. - IP rating:
Enclosure IP rating is voided due to modifications.
Transparency Note:

I used AI tools to help refine grammar and structure in this article.
All technical testing, conclusions, and practical findings are entirely based on my own hands-on work.
73’s
